Black Cardamom Plant Care
The complete ongoing care guide for Amomum subulatum — watering schedule, repotting steps, pest identification and treatment, pruning, and a month-by-month care calendar.


Black cardamom (Amomum subulatum) needs consistently moist soil (never waterlogged), monthly feeding April to September, and repotting every 2–3 years in spring. Pruning is minimal — only remove dead pseudostems at soil level, never healthy green stems. The most common pests are spider mites (prevented almost entirely by maintaining 65%+ humidity) and mealybugs. A month-by-month care calendar is below to replace guesswork with a consistent routine.
Watering — When, How Much, and How

Correct watering is about soil moisture consistency — not a fixed schedule. Check the soil, not the calendar.
Black cardamom needs soil that is consistently moist at root level — not wet, not dry, and never oscillating between the two extremes. It evolved on Himalayan forest floors where rain is frequent but the humus-rich soil drains freely. Waterlogged conditions rot the rhizome; completely dry conditions stress the plant and trigger the leaf-curling response it uses to reduce moisture loss.
How to water correctly — method matters
When watering, do it thoroughly — pour slowly until water drains from the bottom of the pot. This ensures the entire root zone gets moisture, not just the surface layer. Then do not water again until the soil check shows it is time. Shallow, surface-only watering creates a permanently wet surface and a dry lower root zone — the opposite of what black cardamom needs.
| Season / Situation | Frequency | Check Method | Key Risk |
|---|---|---|---|
| Summer — indoors | 2–3× weekly | Finger test — 2 cm deep daily | Underwatering in heat |
| Summer — outdoors | 3–4× weekly (no rain) | Finger test — 3 cm deep | Rapid drying in direct air |
| Spring / Autumn | 1–2× weekly | Finger test — 2–3 cm deep | Overwatering as growth slows |
| Winter — indoors | When top 1–2 cm fully dries | Finger test — 1–2 cm deep | Overwatering — most common winter mistake |
| After repotting | No water for 5 days then normal | — | Root rot before new roots establish |
| Newly planted rhizome | Water in once, then wait | Check surface only | Rot before first shoot emerges |
Feeding Schedule — What Feeds the Rhizome
Black cardamom is a nutrient-hungry plant during the growing season — its large leaf canopy and spreading rhizome system require consistent feeding from April to September. Outside this window, feeding causes more harm than good.
| Fertiliser Type | Suitability | How to Use |
|---|---|---|
| Balanced liquid — high N | ✓ Best choice | Monthly, full dose label recommendation May–Aug. Half dose Apr and Sep. |
| Seaweed / kelp extract | ✓ Excellent organic option | Monthly. Gentle and broad-spectrum. Good for organic growing. |
| Worm castings (top dressing) | ✓ Excellent supplement | Apply 2–3 cm layer on soil surface monthly. Water in. Adds microbial life. |
| Slow-release granular | Use with caution | Releases regardless of need — risk of winter over-fertilising. If using, apply only in May once and monitor. |
| High-phosphorus / bloom | Year 3+ only | One application in late summer (Aug) on mature plants may encourage flowering. Not needed in years 1–2. |
Repotting — Step-by-Step Guide

Repotting is best done in early spring when new growth is just starting — the plant re-establishes quickly during its growth surge
Black cardamom rhizomes spread 30–60 cm per year under good conditions. A pot-bound plant stops producing new pseudostems and can stop flowering entirely. Repotting every 2–3 years is standard for container-grown plants — always in spring, never in winter or when stressed.
Signs that repotting is needed
- Roots visibly emerging from drainage holes and cannot be pushed back in
- Plant has become top-heavy and tips over easily
- Soil dries out significantly faster than it used to (root-to-soil ratio too high)
- Growth has slowed despite correct watering, feeding, and light
- It has been more than 3 years since the last repot
Repot in March or April as new growth is just starting. The plant’s spring growth surge helps it re-establish roots quickly after disturbance. Never repot in winter (slow recovery, rot risk) or when showing signs of stress or disease (repotting adds additional stress).
Going too large at once (more than 15 cm wider) creates a large volume of wet soil around a smaller root system — a rot risk. Choose wide and shallow over tall and narrow. Ensure drainage holes are present and clear. Unglazed terracotta is ideal.
Mix fresh 60% loamy compost + 30% perlite + 10% leaf mould or worm castings. Pre-moisten to a damp-sponge consistency. Never reuse old potting mix — it may harbour pathogens and its structure has degraded from previous seasons.
Watering the day before loosens the root ball from the pot walls, making removal easier and less traumatic. Lay the pot on its side, support the base of the stems with one hand, and slide the root ball out — do not pull by the stems or leaves. Large pots may need two people or gently squeezing the sides if plastic.
Lay the root ball on newspaper and inspect the rhizome. Healthy sections are firm and reddish-brown. Remove soft, dark, or smelling sections with clean sharp scissors or a pruning blade. Wipe the blade with rubbing alcohol between cuts to avoid spreading pathogens. Dust all cut surfaces with ground cinnamon — a natural antifungal that does not harm the plant.
Place a layer of fresh mix in the new pot, position the root ball at the same depth it was previously — do not bury pseudostem bases deeper than before. Fill around with fresh mix, firm gently (no hard compacting), and water thoroughly until it drains from the base. Place back in its regular position. Do not fertilise for 4 weeks — let roots re-establish in the new mix first.
Pruning — What to Cut and What to Leave Alone
Black cardamom requires very little pruning — it is a self-renewing plant that naturally replaces old pseudostems with new ones each year from the rhizome. Most pruning mistakes come from cutting too much, not too little.
| What You See | Action | Why |
|---|---|---|
| Fully yellow / dead pseudostem | ✓ Remove at soil level | Dead stems waste space and can harbour pests. Cut cleanly at base with sterilised scissors. |
| Browning leaf tips only | ✓ Trim tip with scissors | Brown tips are cosmetic — cut just the brown portion at an angle. Does not affect plant health. |
| Old but still green pseudostem | Leave it — do not remove | Even older green stems photosynthesise and feed the rhizome. Removing them delays pod production. |
| Tall, leggy pseudostem | Do not cut — address light | Cutting a tall stem does not cause branching (unlike many houseplants). Fix the underlying light issue instead. |
| Flower stalk (Year 3+) | Do not remove — leave for pods | The ground-level flower raceme leads to pods. Never cut this — it is the goal of cultivation. |
| Damaged / snapped pseudostem | ✓ Cut cleanly at break point | Clean cut reduces rot risk. If snapped at base, remove the whole stem. |
Pest Identification & Treatment
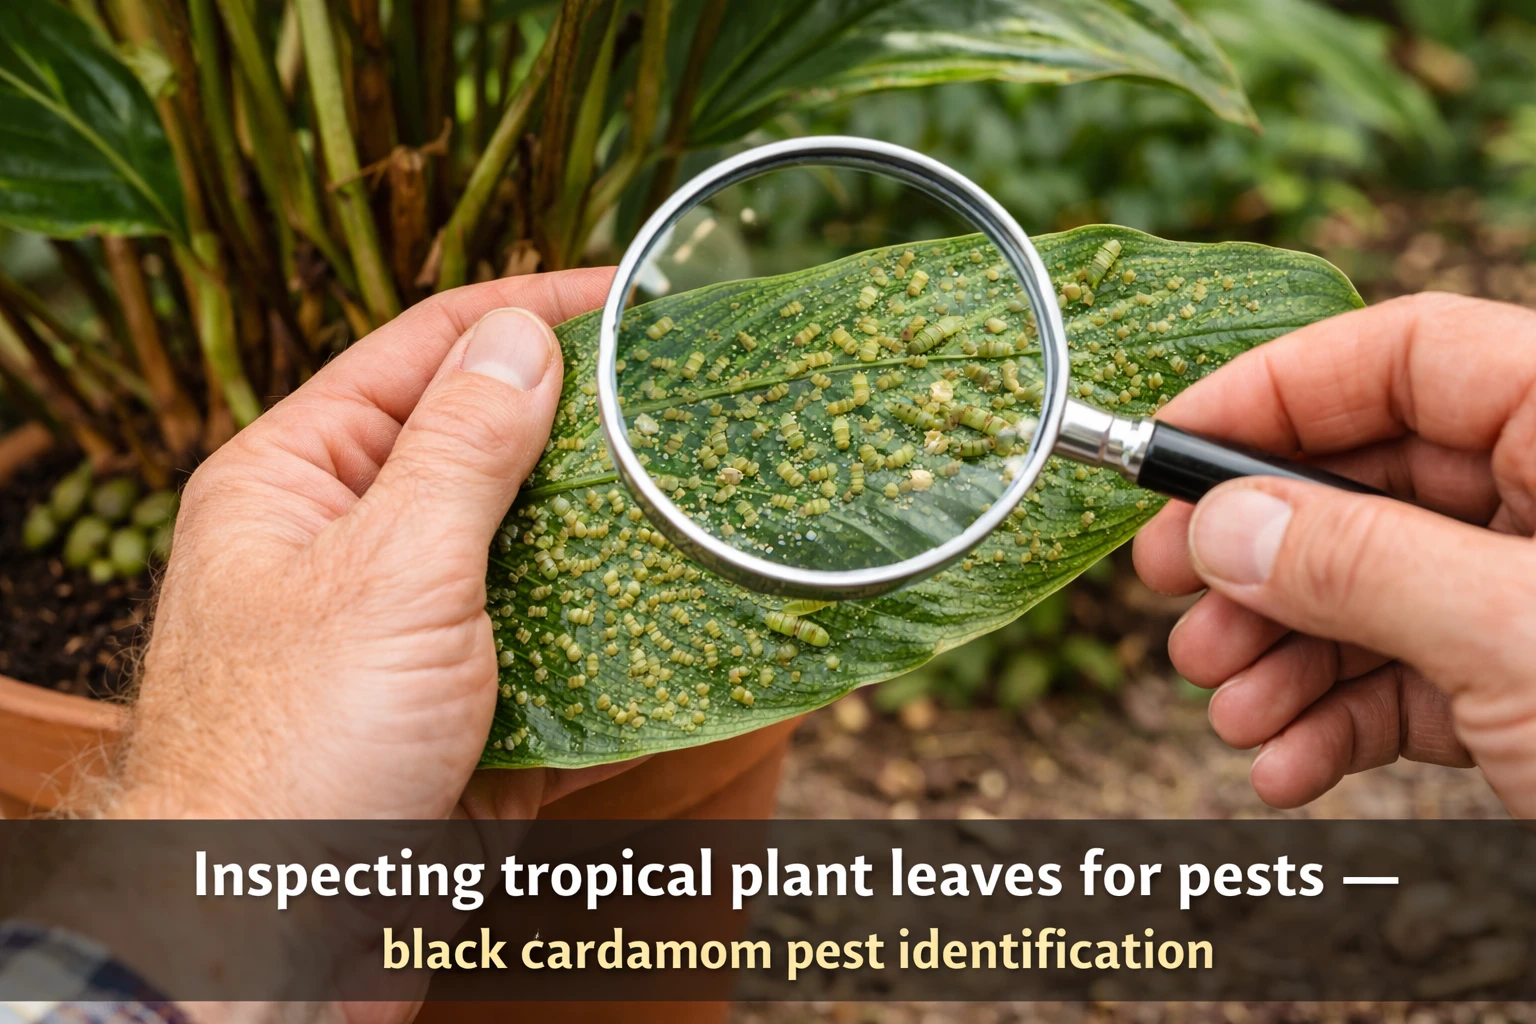
Regular inspection of leaf undersides and stem bases catches pest infestations before they become severe
Common Diseases — Identification and Treatment
| Disease | Symptoms | Cause | Treatment |
|---|---|---|---|
| Rhizome rot | Soft mushy base, bad smell, wilting despite moist soil | Overwatering, poor drainage, compacted soil | Remove from pot immediately. Cut away all rot. Dust with cinnamon. Repot in fresh well-draining mix. Improve drainage. |
| Leaf spot (fungal) | Brown or black circular spots with yellow halo on leaves | Water on leaves, poor airflow, RH above 85% | Remove affected leaves. Improve airflow. Reduce misting. Apply neem oil spray to remaining foliage. |
| Powdery mildew | White powdery coating on leaf surfaces | High humidity with poor airflow — common in autumn | Improve ventilation. Apply diluted neem oil or bicarbonate solution (1 tsp bicarb + 1 tsp liquid soap per litre water). |
| Root rot (Pythium) | Yellowing lower leaves, dark mushy roots, wilting | Waterlogged soil, cold wet conditions | Same as rhizome rot — act quickly. Pythium spreads fast. Remove all infected roots, treat with hydrogen peroxide soil drench (3% diluted 1:10 in water). |
| Nutrient deficiency | Uniform pale yellowing across new leaves, slow growth | No feeding in growing season, or too-high soil pH | Apply balanced liquid feed immediately. Test soil pH — if above 6.5, flush with rainwater and add sulphur to acidify. |
Month-by-Month Care Calendar
- Water only when dry
- No feeding
- Run humidifier daily
- Check for spider mites
- Grow light on (UK)
- Continue winter routine
- Inspect rhizome base
- Plan repotting if needed
- Order new rhizomes/soil
- Grow light on (UK)
- Repot if needed (early March)
- Increase watering slightly
- Watch for first new shoots
- Reduce grow light hours
- Still no feeding yet
- Begin feeding — half dose
- Water 2× weekly
- New pseudostems emerging
- Check humidity as heating reduces
- Turn off grow light (if light improving)
- Full dose feeding monthly
- Water 2–3× weekly
- Move outdoors if warm (shaded)
- Peak growth — watch for pests
- Remove dead pseudostems
- Full feeding continues
- Water 2–3× weekly
- Check for base-level flowers (Yr 3+)
- Inspect for spider mites weekly
- Check sun angle — shade risk
- Peak watering season
- Monthly feed
- Monitor AC humidity (US)
- Mulch outdoor plants
- Inspect for mealybugs
- Monthly feed (last full dose)
- Harvest pods if mature (Yr 4+)
- Consider one high-P feed for Year 3+ plants
- Water as needed
- Inspect and treat any pests
- Half dose feed — last of year
- Bring outdoor plants inside (UK)
- Start humidifier as heating comes on
- Reduce watering frequency
- Restart grow light (UK)
- Stop feeding entirely
- Reduce to 1× weekly watering
- Humidifier essential now
- Remove fully dead stems
- Grow light back on (UK)
- No feeding
- Water only when dry
- Check minimum temperature
- Inspect for overwintering pests
- Humidifier running daily
- Minimal water — check before watering
- No feeding
- Grow light on full schedule (UK)
- Keep away from cold windowsills
- Maintain 10°C minimum
Frequently Asked Questions
How often should I water black cardamom?
When should I repot black cardamom?
What pests affect black cardamom?
Should I prune black cardamom?
Why are my black cardamom leaves curling?
How do I fertilise black cardamom?
How do I treat spider mites on black cardamom?
Continue in the Growing Series
This is Guide 2 of 8 in the Black Cardamom Growing Series
Emily’s ongoing care guides are developed through direct plant observation and interviews with commercial black cardamom growers in Nepal and Sikkim. Full profile →
Dr. Bennett reviewed pest biology, disease pathology, soil chemistry, and nutrient requirements for Amomum subulatum. Full profile →